Why Businesses Are Migrating From Weebly to WordPress
Businesses are migrating from Weebly to WordPress for its scalability and customization, enhancing flexibility in a competitive digital landscape.
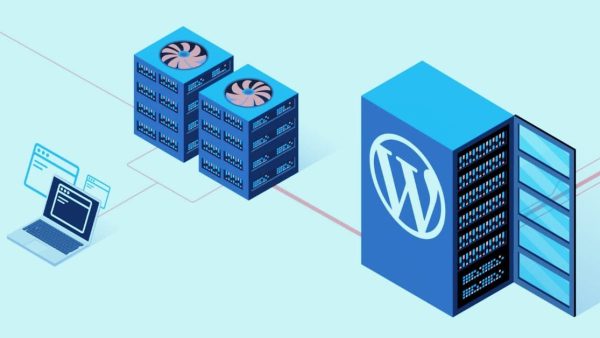
WordPress News & Coverage
Businesses are migrating from Weebly to WordPress for its scalability and customization, enhancing flexibility in a competitive digital landscape.
Choosing the right managed WordPress hosting can impact your site's performance and security. Understand what sets the best providers apart.
PHP versions impact WordPress hosting performance and security. With PHP 7.4 support ending, upgrading is urgent.
Agencies reselling WordPress hosting can unlock recurring revenue and stronger client relationships, but must navigate increased responsibilities.
Learn how to safely uninstall WordPress plugins without disrupting your site. Follow these steps to maintain performance and security.
Managing WooCommerce traffic spikes requires strategic optimizations and the right hosting. Avoid lost sales by preparing for surges effectively.
Cyber Monday highlights the need for enterprise WordPress hosting, which offers enhanced security, scalability, and support, preventing costly data breaches.
Managed WordPress hosting reduces ops workload by automating updates, security, and backups, allowing focus on business growth.
Your WordPress site is under constant threat. Use a comprehensive security checklist to audit and safeguard your site against cyber attacks.
Choosing the right WordPress hosting is critical for site performance and security. Explore self-hosting, managed, cloud, and dedicated options.